On a modern flexo printing machine, print quality is decided long before the first sheet runs — it is set in the PLC. Feeding speed, servo registration, anilox roller synchronization, drying and safety interlocks are all governed by PLC parameters. Get them right and the machine delivers clean, repeatable prints on corrugated board run after run; get them wrong and you face misregistration, ink density problems and avoidable downtime. This guide walks through how PLC control works and how to configure each parameter group, step by step.
The Role of PLC Control in a Modern Flexo Printing Machine
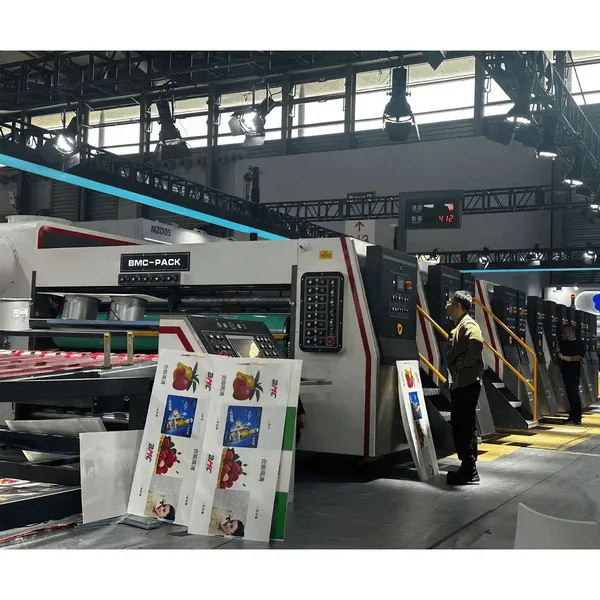
The PLC is the operational "brain" of the machine. It coordinates every automation subsystem — vacuum feeding, servo side-registration, the main motor drive, conveyor phasing, infrared drying, ink circulation, doctor blade management and fault detection — so that they act as one synchronized unit.
In practical terms, the PLC is responsible for:
- Timing sheet feeding and vacuum suction activation
- Synchronizing printing plates with the anilox rollers
- Managing mechanical-to-servo communication for color registration
- Automatic zero-positioning and job memory recall
- Drying temperature and IR lamp control
- Slotting and die-cutting timing on hybrid models
- Fault diagnosis and emergency interlock logic
Step-by-Step PLC Parameter Setup
Step 1 — Initialize System Parameters
Start by loading the default PLC logic for safe operation: factory-set speed curves, zero-phase positions for the anilox rollers, pressure thresholds for plate-to-paper contact, vacuum-blasting intervals and safety-lock sequencing. This baseline guarantees the machine is in a known, safe state before any job-specific values are entered.
Step 2 — Configure Feeding Parameters
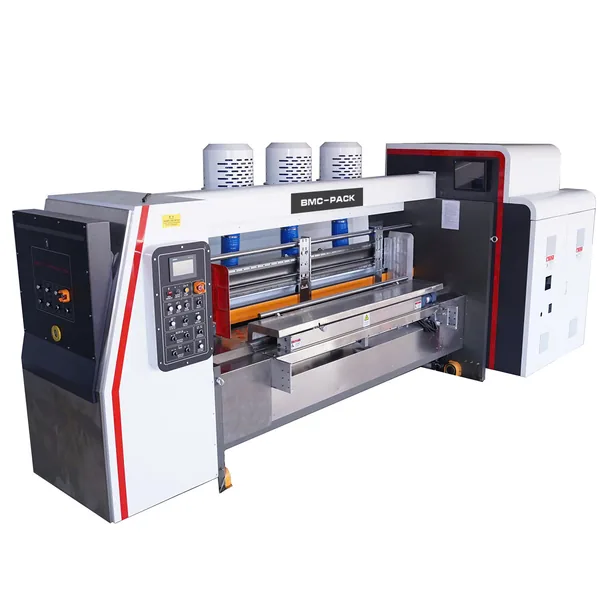
Feeding accuracy determines whether sheets reach the print section square and on time. The critical values are feeder speed (sheets/min), vacuum suction strength, skip-feed allowance, sheet-thickness calibration and double-sheet detection sensitivity. Tune these so the feeder stays synchronized with the anilox rollers and the main drive.
Step 3 — Set Print Registration Parameters
Servo-controlled registration is what keeps colors aligned at speed. Configure longitudinal register, lateral (side) register via the servo motor, circumferential alignment based on plate repeat length, and print-to-cut compensation for any slotting or die-cutting unit downstream.
Step 4 — Configure Anilox Roller Parameters
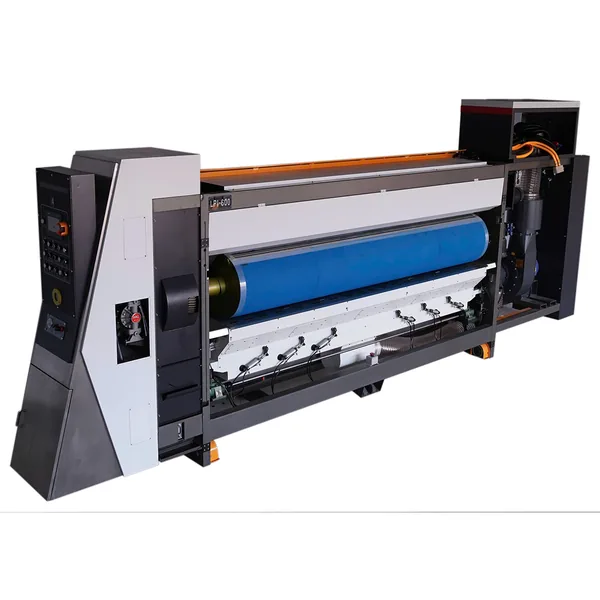
The anilox rollers control ink volume and density. PLC-driven settings include the rotational speed ratio between the plate cylinder and anilox roller, ink-viscosity alarm thresholds, chamber doctor-blade pressure timing, and clean-rinse cycles with backflow control. Balanced values here prevent over-inking and roller wear.
Step 5 — Control Drying, IR Lamps and Ink Temperature
Drying parameters protect print clarity, especially with water-based inks. Set IR lamp duration, drying temperature, inter-unit airflow and power-saving modes for idle periods. Correct drying timing avoids ink blistering and smudging on solid areas.
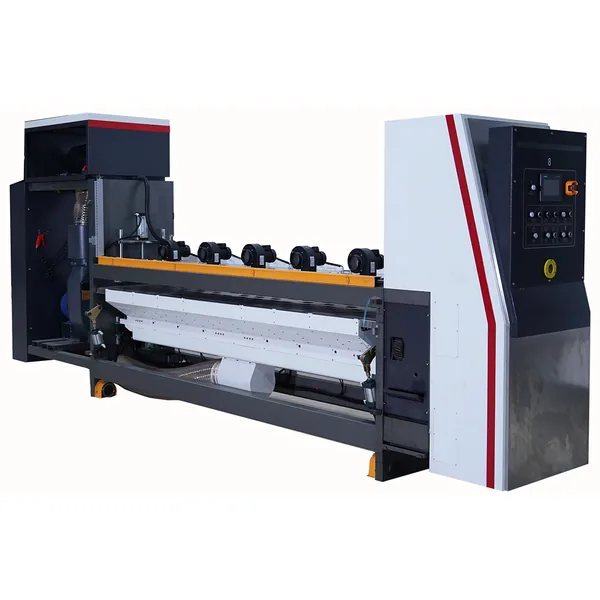
Step 6 — Set Slotting and Die-Cutting Parameters (Combined Units)
On combined lines, configure slotting depth, crease pressure, die-cutting angle, anvil roller lateral movement, compensated speed mode for knife wear, and registration between the printing and slotting sections. These values keep print and cut perfectly aligned.
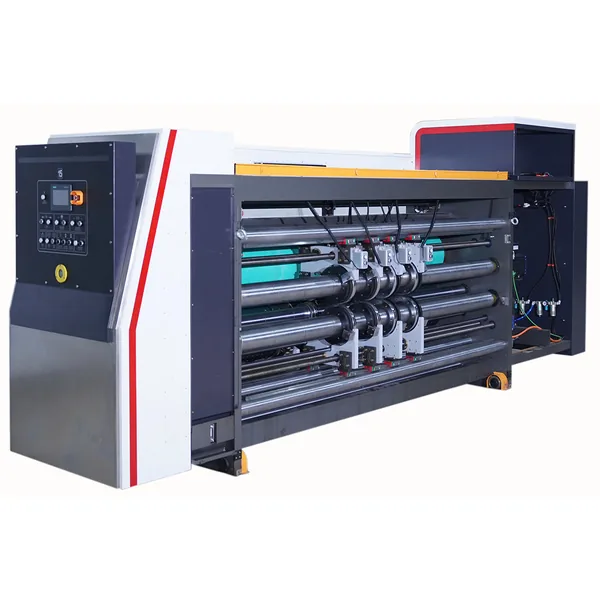
Step 7 — Configure Safety Logic and Alarm Thresholds
Finally, set the protective layer: the emergency-stop chain, unit-lock sensors, overload thresholds, ink-pump overflow detection, low-pressure vacuum alarm and over-temperature shutdown. Well-defined alarm thresholds stop small faults from becoming costly failures.
PLC Functions Compared: Standard vs. Advanced Flexo Printers
| Feature | Standard Flexo Printer | Advanced BMC Flexo Printing Machine |
|---|---|---|
| PLC brand | Local PLC | Siemens / Omron industrial PLC |
| Registration accuracy | ±1.5 mm | ±0.5 mm or better |
| Anilox roller control | Basic speed sync | Full servo sync + ink-viscosity alarms |
| Feeding control | Mechanical | Servo-vacuum smart feeding |
| Job memory | Limited | Full storage of job orders |
| Error diagnostics | Manual detection | Auto fault diagnosis with alert logs |
| Drying control | Fixed | PLC-adjusted IR cycle |
| Integration | Poor | Full integration with a Corrugated Cardboard Production Line |
Common PLC Parameter Mistakes That Ruin Print Quality
Most flexo print defects trace back to a handful of parameter errors:
- Incorrect feeder delay → sheet skew
- Wrong anilox roller RPM → poor or uneven ink density
- Unbalanced plate pressure → smudging
- Faulty drying timing → ink blistering
- Over-tight doctor blade → roller abrasion
Advantages and Limitations of PLC-Based Flexo Printing
Advantages
- Extremely stable, repeatable print consistency
- Precise control of anilox rollers and doctor blade systems
- Reduced downtime and fewer printing defects
- Higher accuracy for corrugated carton, pizza box, duplex and Kraft liner jobs
- Easy integration with upstream and downstream machines
Limitations
- Requires skilled technicians
- Incorrect parameter input can cause over-inking or misregistration
- Higher cost for components such as servo drives and anilox rollers
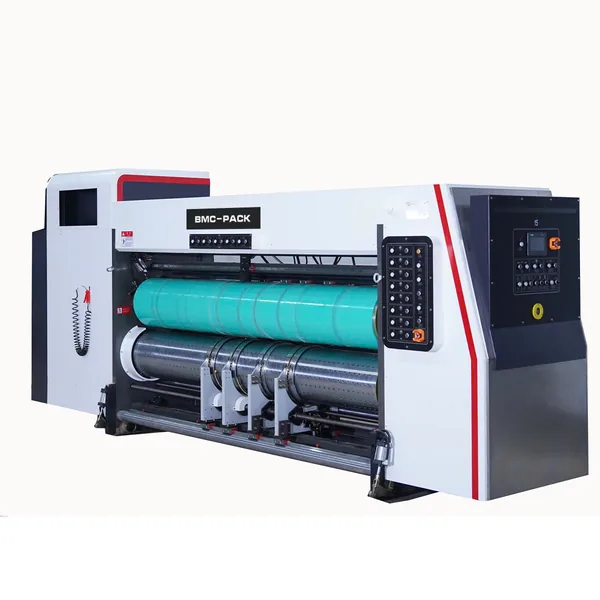
Applications, ROI and Working with BMC
Factories running an integrated Corrugated Cardboard Production Line see immediate gains from correctly configured PLC parameters. Stable ink transfer and synchronized anilox rollers lower rejection rates, while accurate calibration increases uptime, protects printing plates and reduces manual adjustments. Automatic cleaning cycles, job-memory recall, ink circulation and smart drying further cut manpower and ink consumption — and extend anilox roller life.
As a partner, BMC supports the full lifecycle of the flexo printing machine: engineering, global-brand components, spare-parts access, PLC training, remote diagnostics and localized technical guidance. That support shortens installation time and helps a plant reach full operating speed faster.
Conclusion
PLC mastery is what separates a good flexo printer from a great one. With feeding, registration, anilox synchronization, drying and safety logic configured correctly, factories achieve higher precision, cleaner ink transfer and lower waste across every production run. Treat the PLC setup as the foundation of print quality — not an afterthought — and the rest of the line follows.